In days gone by, photography was a specialist endeavour that required equipment and a huge amount of time and effort. However, as smartphones have developed it’s become a far more accessible hobby to so many and phone photography has thrived. Phone photography has the ability to be equal parts brilliant and terrible.
With that accessibility comes a new awareness of how much our devices endure as they travel with us, from impromptu photo walks to bustling commutes, making protection just as essential as creativity. It’s in that balance between function and personal style that www.cordeecases.com fits naturally into the conversation, offering a way to safeguard the very tool that makes spontaneous photography possible while still allowing users to express their aesthetic.
By keeping phones secure without sacrificing design, it becomes easier to say yes to capturing the unexpected, embracing the art of seeing while trusting that your device is ready for whatever moment calls your lens. But what is the secret to taking great pictures with your phone? As it turns out, there are a few. Here are our tips to improve yours.
1. Use Gridlines to Give Your Image Balance
One of the easiest ways to improve your phone photography is to use the camera’s gridlines as a guide. These superimposed lines on the screen of your smartphone’s camera help apply the “rule of thirds”. This simple composition principle says an image should be broken down into thirds both horizontally and vertically, forming nine parts in total. Placing the subject at the intersections or using the grid to balance the composition of your photo makes for amazing results.

2. Set Your Camera’s Focus Manually
Most phone cameras have an autofocus feature that chooses the subject (usually in the foreground). But not every photo you take will have the subject in this position. Adjust the focus of your image by tapping the screen (a small square or circle should appear to indicate the focus area) and get snapping!
3. Stick to One Subject
Focusing on a single subject often makes for the best photos. Spending a little time setting up the shot to ensure that your photograph does this in composition, lens focus and lighting goes a long way towards making a great photo. Using negative space rather than filling the frame can help achieve this, but that balance will depend on the style and subject of your photo. For example, focusing on a single impala rather than on multiple members of the herd makes a dramatic impact on the image below.

4. Embrace Negative Space
“Negative space” is the area around and between the subjects of an image, and it can often be the difference between a “good photo” and a “great photo”. Including a lot of empty space in a photo can make your subject stand out more and make for extremely impactful images. Great examples of negative space are: often a dramatic sky, an open grassland, or an expanse of water.
5. Use Leading Lines
This photography technique makes use of patterns and lines in the image by drawing the viewer’s eye toward a certain part of the frame. These are called leading lines and can be straight or curvilinear. Common examples include paths, staircases, roads or even riverbeds. Leading lines create a sense of depth in your image, and provide a design element to your photos that makes them more than just what meets the eye.

6. Look for Symmetry and Repetitive Patterns
Pictures that contain symmetry can be extremely pleasing to the eye and is one of the simplest and most compelling composition techniques. Usually, this appears as mirror images within a single photo – reflections are an excellent example of this.
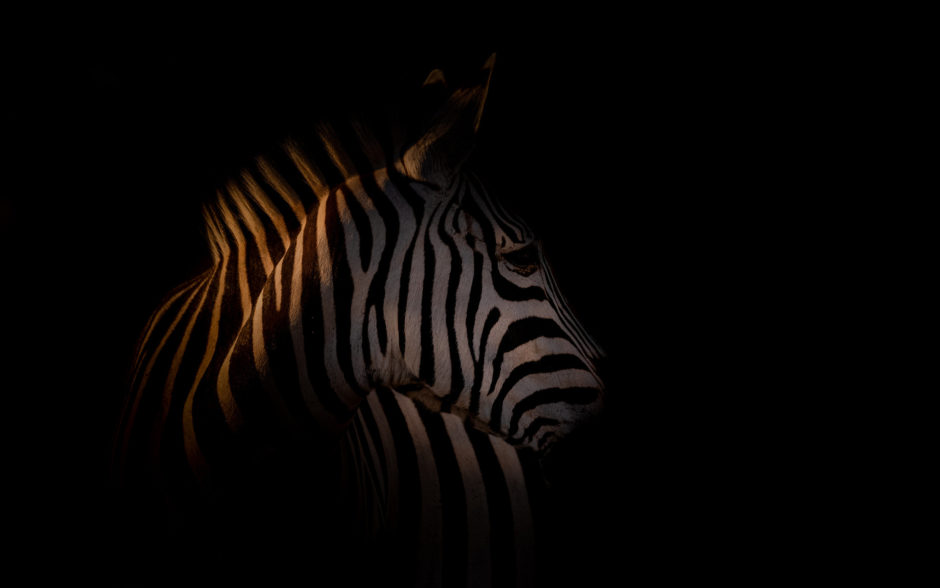
Repetitive patterns appear when strong visual elements are repeated, like lines, shapes, forms, and colours. These patterns can make a strong visual impact, and photographing something simple like a zebra’s stripes or footprints on a dune can create a striking image. Whether purposefully composed or occurring naturally and unintentionally they make for compelling images. Using the gridlines from our first tip to arrange these patterns.

7. Don’t Use the Zoom Function
When taking a photo from further away, we tend to go straight to zoom to try to focus on our subject – this is especially the case with phone photography. But zooming in most often causes the photo to be grainy, blurry, or pixelated. Instead, get closer to your subject – unless it’s a wild animal, in which case we would suggest maintaining a safe distance – or take the photo from a distance, and crop it to a fitting size later on. This will help avoid compromising the quality of the image and makes it easier to edit and optimize at a later stage.
8. Only Use Your Flash During the Day
While natural lighting should always take preference and using the flash is considered a last resort – there are times it can help. However, photos at night aren’t usually the best example of these occasions. Photos with dark content reveal a much sharper contrast against your phone’s flash and are likely to make any flash look invasive and uneven.
In already well-lit spaces, however, the flash can soften dark shadows behind or beneath your main subject. Keeping an eye out for these kinds of shadows and using the flash selectively can do a lot for your composition.
9. Set Your Camera Exposure Manually
Along with manually setting your focus, another feature to adjust is exposure. When tapping your screen to refocus the lens on a new subject — it also automatically adjusts the exposure. It won’t always look 100% right for your image but can easily be adjusted manually. Like you did to adjust focus, tap the screen, when you see the lens refocus box appear, a very small sun icon and a vertical scale will appear beside it. Slowly swipe your finger up and down this scale to adjust the light level.

10. Explore the Abstract
Abstract photos are meant to create unique, surprising images from seemingly ordinary subjects. There are a few ways to achieve this; by cropping an abstract portion of an otherwise normal photo, by taking close-up shots of objects that create mystery, or by using an unconventional perspective. Subjects with patterns or repetition often provide excellent opportunities for abstract photography.

11. Take Candids
Posed photos are beautiful and timeless but have a sense of repetition about them. But in the animal kingdom, in particular, candid shots can be far more interesting. Capturing the essence of the moment and creating a natural feel to your image can truly enhance its impact. One of the best ways to capture this kind of shot is to take as many photos as possible, it gives you every chance of capturing fleeting moments and relies less on getting your timing absolutely perfect.

12. Don’t be Afraid to Edit
Composing and taking your photo is just the first step to making it a good one. Editing your photos is a great way to take them to the next level and the ease of doing this with phone photography can yield amazing results. Most smartphones have built-in editing options that provide basic tools to work on images. Whether it’s adding a filter or changing saturation, contrast or even the vibrancy of colours – there are many ways to make your photos stand out.

Test Your Phone Photography Skills Out on Your Next Safari
Now that you’ve got some tips on hand, all that’s left to do is head out and get snapping away. After all, there’s no substitute for practice, before long your phone photography skills will be put to good use. Contact our Rhino Africa Travel Experts to start planning your next African safari!

